Sony 2018 Android TV Settings Guide: What to Enable, Disable and Tweak
We walk you through the menus and features of Sony's 2018 Android TVs. Use our handy guide to find the settings and features you need.
How to set up your new Sony TV
Setting up your new Sony TV isn't difficult. In fact, it starts the moment you first power up the TV. Although Sony's version of Android TV walks you through the setup process, it's still helpful to know in advance what you're getting into before diving in headfirst.

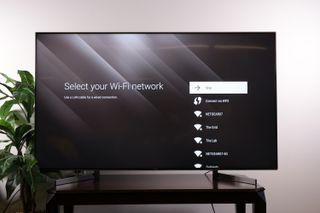
1. Select your Wi-Fi network. Like all smart TVs, Sony's Bravia models rely on connectivity to offer all the apps and streaming options you expect, so the first step is establishing that connection. Even if you want to run an Ethernet cable to your set for a wired LAN connection, it's still a good idea to start by signing in to Wi-Fi.

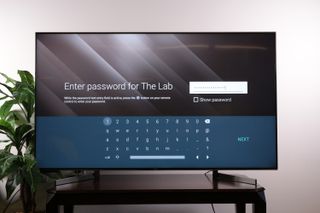
2. Enter your Wi-Fi password. With your network selected, you'll need to enter your password to finish logging in to your Wi-Fi network. Use the on-screen keyboard and the directional controls on the remote to login.

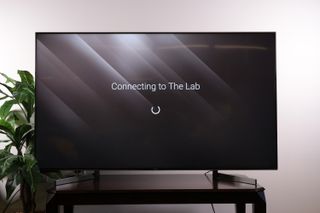
3. Finish connecting to your network. Once you've signed in, it may take a moment for the TV to finish establishing a connection.

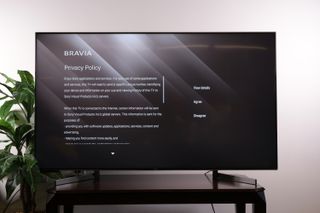
4. Accept the privacy policy. Like any connected device, Sony's smart TVs need your permission for all the content and viewing information that will pass back and forth between your TV and Sony.
Next, the setup process will walk you through setting up your antenna and scanning for channels, but if you don't have an antenna, your first-time setup is done.
Sign up to get the BEST of Tom’s Guide direct to your inbox.
Upgrade your life with a daily dose of the biggest tech news, lifestyle hacks and our curated analysis. Be the first to know about cutting-edge gadgets and the hottest deals.
Current page: How to set up your new Sony TV
Prev Page Sony Bravia Android TV Settings Guide: What to Enable, Disable and Tweak Next Page How to set up over-the-air channels on your Sony TVBrian Westover is currently Lead Analyst, PCs and Hardware at PCMag. Until recently, however, he was Senior Editor at Tom's Guide, where he led the site's TV coverage for several years, reviewing scores of sets and writing about everything from 8K to HDR to HDMI 2.1. He also put his computing knowledge to good use by reviewing many PCs and Mac devices, and also led our router and home networking coverage. Prior to joining Tom's Guide, he wrote for TopTenReviews and PCMag.

